Configuring your form
Adding a success message
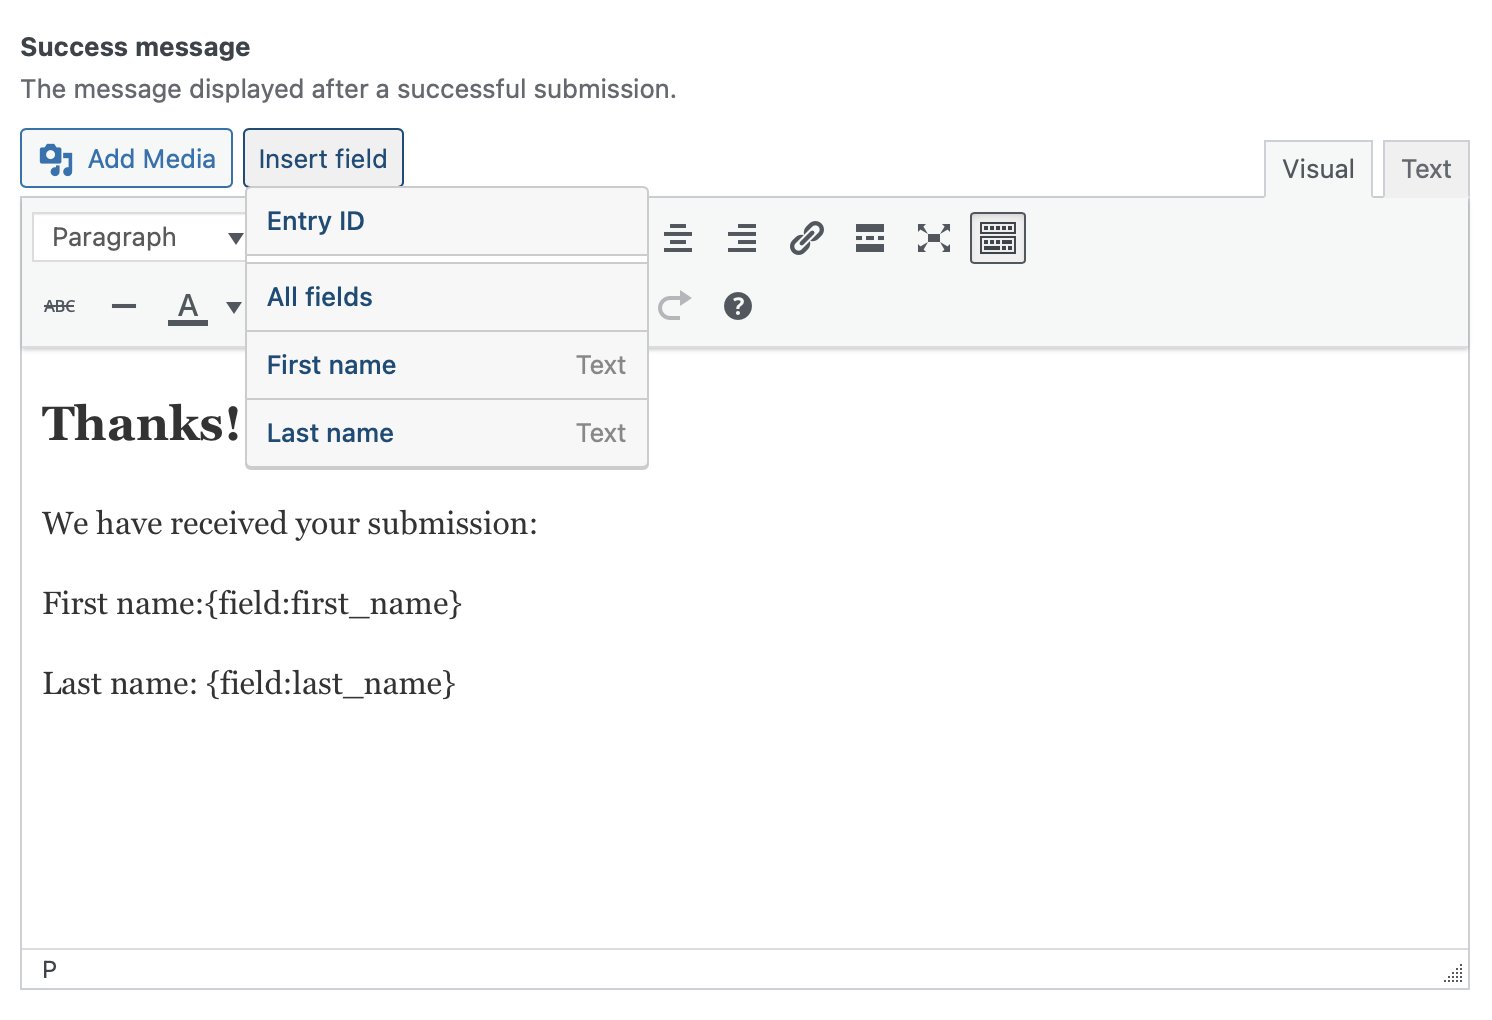
A success message can be configured to give feedback to your users when they have submitted a form.
- Navigate to the settings page for your form.
- Under the “Display” tab, use the “Success message” editor to set up your message.
- Use the “Insert field” dropdown if you want to include field values in your message.
Below you will find a screenshot of the success message editor, including the “Insert field” dropdown.
Setting up email notifications
Every form can have an unlimited number of emails configured to be sent when it’s submitted. To configure an email notification, do the following:
- Navigate to the settings page for your form.
- Under the “Notifications”, click “Add new email” and give your email a name.
- Configure the recipient of your email. Either select a field to get the recipient from or select “Custom recipient” to fill one in manually.
- Configure the subject and content of your email. As with the success message, you can insert field values using the “Insert field” dropdown.
- Optionally configure a “From” address for your email.
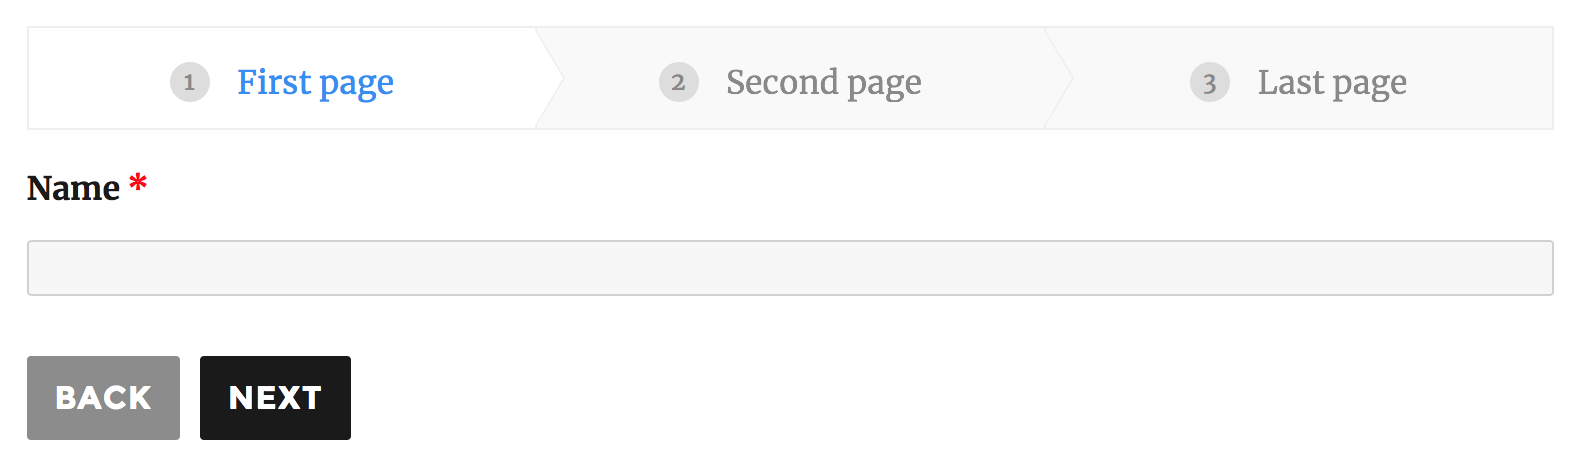
Making a multi-page form
Setting up a multi-page form is similar to configuring tabs in a regular ACF field group. To create a paged form, simply insert “Page” fields to divide your form. The “Page” field has settings for numbering and button text as well. Only the settings on the first page field will be used.
After setting up the page fields your form should now be split over multiple forms. Users can navigate the form by clicking the previous and next buttons as well as the progression indicator at the top. When navigating forward each page will be validated and any error messages will be displayed before progressing.