Configuring integrations
Mailchimp
Advanced Forms Pro enables you to connect forms to Mailchimp and subscribe your visitors to Mailchimp lists. Configuring Mailchimp is easy, all you need is an API key.
Generating an API Key
Start by logging in to your Mailchimp account on mailchimp.com. Click your profile name in the top right corner and select Account. Navigate to API Keys under the Extras tab and press the Create a Key button. Lastly, copy the newly generated key.
Connecting your form to Mailchimp
Once you have your API key it’s time to configure Advanced Forms. Log in to the Wordpress admin panel and navigate to Forms → Settings. Paste your API key in the Mailchimp API key and save. Advanced Forms is now connected to your Mailchimp account and ready to start adding some subscribers.
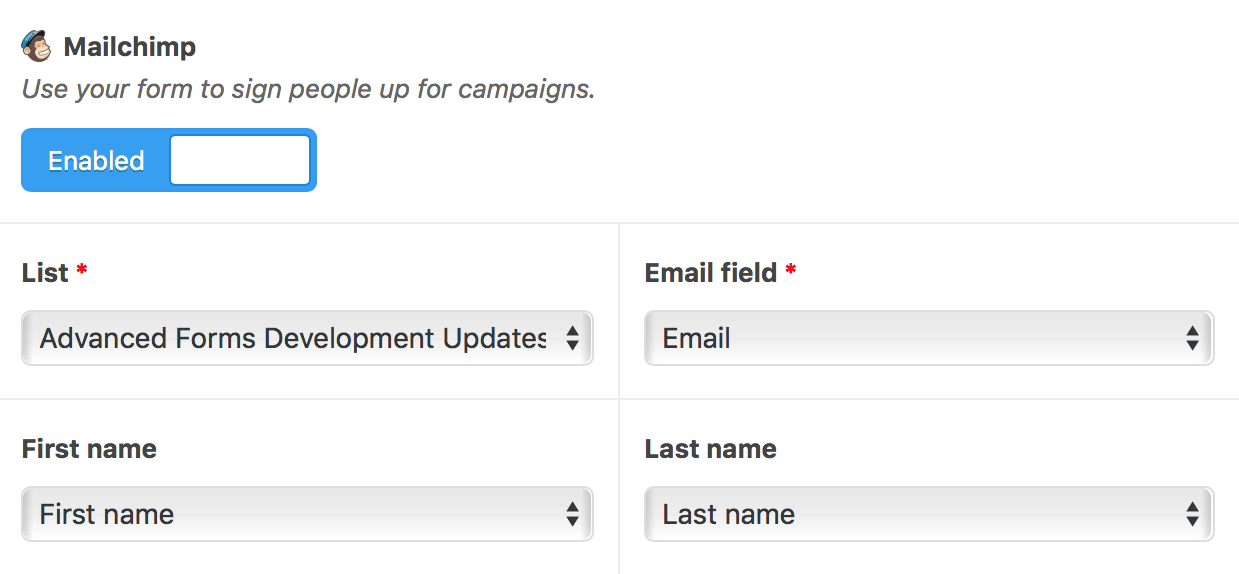
Find and edit the form you want to connect. Navigate to the Integrations tab and enable the Mailchimp integration. You should now be faced with a few settings. The list field lets you configure which Mailchimp list to subscribe users to and the email field lets you select which form field to get an email address from. Remember that this needs to be a valid email address and hence it’s recommended to use an ACF email field. Optionally you may also configure first name and last name to make your subscriber info more complete.
Slack
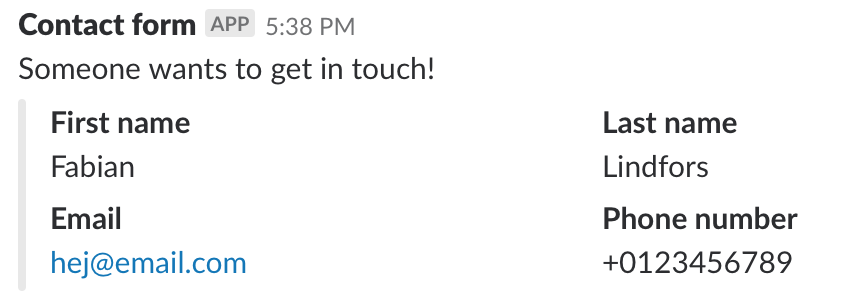
By connecting your Slack workspace to a form you will instantly get a message whenever a visitor sends a submission. A perfect way to be notified whether you’re creating a simple contact form or building a full-blown helpdesk.
Creating a webhook
All you need to connect your form to Slack is a single URL called a webhook. Here’s how you get one:
- Navigate to my.slack.com/services/new/incoming-webhook/ and make sure you are logged in to your Slack workspace.
- Select the channel you want notifications to be sent to and click Add Incoming WebHooks integration.
- Copy your fresh webhook URL.
Configuring your form
Once a webhook has been generated you’re ready to set up your form. In the Wordpress admin find your form, edit it, and enable the Slack integration under Integrations. Fill in your webhook URL and type a little message which will be included with each notification. Also select any fields which you would like included. That’s it!
Zapier
With the help of Zapier you can connect your form to thousand of services and create automated workflows. You could create a form that accepts files from users and automatically uploads them to your Dropbox. Or you could automatically save form submissions to a Google Spreadsheet. There are literally thousands of possibilities.
Creating a Zap
- Set up a form with all the fields you want to pass on to Zapier.
- Follow this link to create a new Zap for your form.
- Choose the “New Submission” trigger and continue.
- Copy the provided URL, and jump over to your form in the Wordpress admin.
- Under “Integrations”, enable the Zapier integration and the paste the URL from step 5. Finishing by clicking the “Send test submission” button.
- Hop back to Zapier and continue with the Zap creation process. Zapier should pick up some sample data with your form fields within a few seconds.
- Complete your Zap by connecting it to an action!
Google reCAPTCHA
Basic spam protection is built into all forms using a honeypot. Sometimes more sophisticated spam protection is necessary and for these situations Advanced Forms Pro supports Google reCAPTCHA. Once configured, the user will be presented with a challenge when submitting a form if they are suspected of being a bot. Because Advanced Forms uses the invisible reCAPTCHA, most users won’t have to click anything to prove that they are human.
Getting API keys
Google requires a set of API keys which you’ll have to create using a Google account.
- Navigate to this page and sign in with your Google account.
- For “reCAPTCHA type”, select “reCAPTCHA v2” and “Invisible reCAPTCHA badge” from the options that appear.
- Fill in the rest of the form and then click “Submit”. Make note of the generated site key and secret key.
Protecting your form
Once you have your API keys it’s time to configure the plugin and the forms you want to protect. Log in to the WordPress admin panel and navigate to Forms → Settings. Fill in the site key and secret key you generated in the previous step and save.
Every form you want to protect must be enabled manually. Go to the edit panel of your form and navigate to the Integrations tab. If you have added your API keys to the plugin settings you should be able to enable the Google reCAPTCHA integration.